Yearly Archives: 2009

Lunch at Berkeley Bowl West

Matthew at Berkeley Bowl West cafe

Berkeley Bowl West (920 Heinz, Berkeley) is a good place to have lunch, but we like to buy stuff in the market and bring it into the cafe, rather than buy cafe food.  The eating space is much nicer here than at the Shattuck location, because it’s in another building and you don’t have the hustle and bustle of shoppers all around you as you eat – though it does get crowded at lunch.

So far we have not been thrilled with the cafe food, but they may just need some time to work out kinks.  My Mom had a Cuban sandwich there a couple weeks ago that was so skimpy and cold (they never pressed or grilled the thing) I though she was going to have a conniption.  I dragged her back there when Matt and I went so she could see the kinds of things we select.

Here are the things we like:

1)  The store-made sushi, in particular the spicy tuna roll.
2)  The egg salad at the deli, which Matthew loves.  We get a container and then select a couple of rolls from the bread department to go with it.
3)  The turkey meatloaf from the deli counter.  The texture is gluey, but I like this stuff.  I swear there is the flavor of liver in there.  Despite the fact that many people in the food business never order meatloaf from anywhere (you never know what evils lurk in a product that is ground and formed), I get it here.
4)  The Chinese food at the hot food counter.  You can’t go wrong, for the most part.  The potstickers are pretty good.
5)  The pecan roll.  At a buck fifty, I can’t believe they even make money on this thing given the volume of pecans on top.  They can be had at the pastry counter and are usually in the cafe, too.
6)  A little piece of cheese from the cheese counter.  (This is another place the rolls come in into play…)

Take your goodies across the little divide to the cafe, grab some utensils and napkins and set up shop.  You may purchase a beverage, but we usually just have water.

Oh, before I forget:  the house-made potato chips at the cafe are to die for.  Even my Mom had to admit this.

Red Lentil Curry

Red Lentil Curry in a red bowl

I purchased a large bag of red lentils recently and was looking for a good red lentil curry recipe when I came upon this one, posted by Emma Maher, on allrecipes.com:

http://allrecipes.com/Recipe/Red-Lentil-Curry/Detail.aspx

From the looks of the allrecipes.com legalese, I may not be allowed to post the text of the recipe – and who has time to decipher all that? – so please forgive me for sending you to another site.  However, this is an excellent curry and I highly recommend that you give it a try.  It’s a savory, complex and substantive dish, which, if served with rice and some chutney and a thick plain yogurt, would make a good dinner.  If you made the curry paste I posted yesterday, it will work well in this recipe.  Meat eaters, fear not; nothing watery or wimpy here.

Indian curry paste

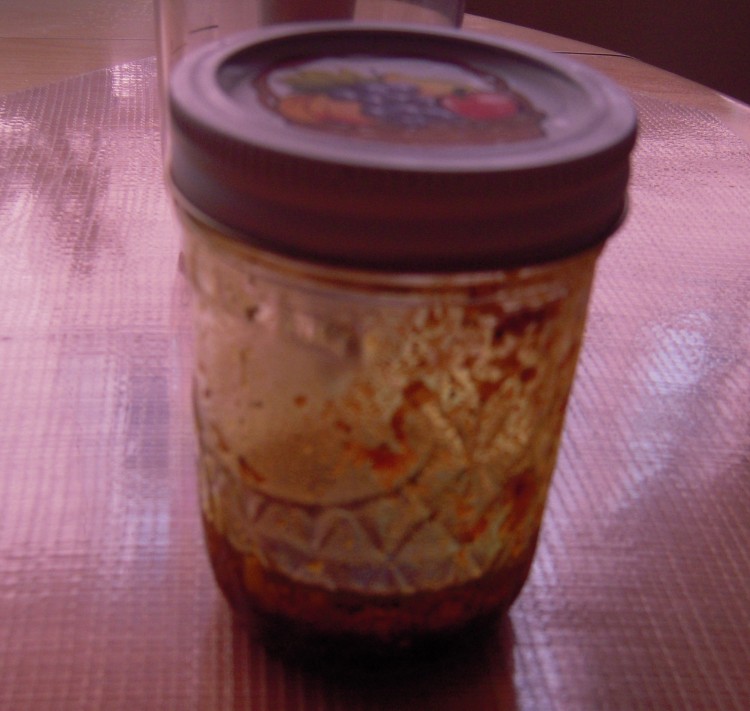
My jar of indian curry paste

One good reason to have a mortar and pestle around the house is to help keep you in various curry pastes.  I always have a jar of homemade Indian curry paste on hand, for example, because I find that it works better than the commercially-prepared kind.  I never make more than can fill my little 8-ounce glass canning jar so that I’m forced to make fresh batches ar regular intervals – though I do run through the stuff at a quick clip.

Here’s my recipe, in case you want to try it yourself.  You don’t need a huge mortar and pestle.

RV’s Very Basic Indian Curry Paste

6 tablespoons canola oil
1 very small onion, finely chopped
8 garlic cloves
5 teaspoons peeled/chopped ginger root
3/4 teaspoon dried ground chili peppers (buy the whole, dried ones and grind in a coffee grinder)
1-1/2 teaspoon coriander seeds
1 teaspoon cumin seeds
1/2 teaspoon turmeric

1)  Grind the coriander and cumin seeds into a powder (fine or coarse, as you prefer)  in the mortar and pestle
2)  Add the garlic and ginger and pound until the mass is a course paste – then set aside
3)  Heat the oil in a small pan and saute the onions until golden
4)  Add the mass from the mortar and saute for 3 minutes over medium heat
5)  Add the turmeric and chili and saute for a moment or two
6)  Transfer to a small jar and allow to cool
7)  Cover and refrigerate

Taki Sushi has no sushi for lunch

Matt and I wanted to grab a quick lunch near home the other day, so we went to Taki Sushi (10889 San Pablo Avenue, El Cerrito).  They’re located in one of those cursed locations where things have come and gone – a really unattractive part of a generally unattractive stretch of San Pablo Avenue, in my opinion.  Problem #1, they don’t have sushi for lunch.  Problem #2, the food inspector arrived as we sat down to eat.  We were not happy about a place with “sushi” in its name not having sushi for lunch, and they were not happy about the food inspection, but we did wind up having quite a nice lunch. 

Taki Sushi is nicely decorated, has a sushi bar and is clean as a whistle. 

We ordered one of my faves, agedashi tofu ($5.50), which is like tofu tempura served in a rich dashi, a broth made of bonito (tuna) flakes, with mirin and shoyu added.  This was a very generous portion and it arrived boiling hot.  Nice. 

Matt had a lunch bento with tempura ($8.25).  The tempura was crunchy and obviously of fresh shrimp and veggies fried at the right temperature.  The portion was nice.  Tempura – check!

I ordered the chicken curry donburi (I do not see this on the take-out menu, but I recall it being about $8 for lunch) and it was very good, with a nice, rich, curry sauce with ample chicken and carrots.  It was a hot day and I still enjoyed it, so that says something.  Curry – check!

Service is friendly and prompt and the food good, so we’ll go back soon and try a few other things, but they should have sushi for lunch!

Ginger’s white no-bake cookies

Ginger’s white no-bake bar cookies

When I was in high school in Northeastern Pennsylvania, the cafeteria staff had to make use of the large quantities of peanut butter received from government food programs.  They often served a no-bake bar cookie loaded with PB and quick oats – which I developed a fondness for but never saw outside of that area before or since.  In recent months I thought I’d try to make this cookie, but the recipe I procured from a friend was for the chocolate version, which turned out OK but did not tickle that particular taste memory for me.  I contacted a high school friend, Ginger, via Facebook, who I figured could come up with something for me.  She told me she developed a white version of this cookie with marshmallow creme added that resulted in something akin to fudge, and that it had been a big hit with her family.

I made a big batch of these cookies two weeks ago and they disappeared fast.  If you try the recipe, one suggestion is to wait a day before you serve them so that they firm up and meld a bit.  That said, I think my husband and son ate about a third of them the first day, so good luck with the waiting.

I have to say that I find it interesting that all the kids who were nice in high school became nice adults, and the ones who were interested in cooking as teens still cook today.  Case in point:  Ginger and I were in Home Economics together (do they still teach this anywhere?) making things like chocolate fondue (that was the 70’s) and now she and I are both in the food business.

Ginger’s White No-bake Bar Cookies

1 cup margarine (use one of those “bad” margarines – not something like Smart Balance; butter works, too)
2 cups white sugar
1 cup packed brown sugar
1/2 cup whole milk
5 cups quick oats
1/2 cup smooth peanut butter
1 cup marshmallow creme
1 teaspoon vanilla

1)  Combine margarine, sugars and milk and bring to a hard boil; allow to boil for two minutes, stirring gently with a heatproof spatula.  Note that the hard boil is important, because it is raising the temperature of the sugars so that the cookies set properly.
2)  Remove from heat
3)  Add peanut butter, marshmallow creme and vanilla, stirring till mostly melted
4)  Stir in oats until all are coated
5)  Spread out evenly in a wax-paper lined 9′ X 13″ oblong cake pan (or one that is nonstick with a bit of oil spray)
6)  Allow to cool on counter for 15 mins and then transfer to refrigerator to cool for two hours
7)  Turn out onto counter (carefully!) and cut into bars.  I use a bench scraper or wide spackling tool for this

These no-bake cookies look like a marble tile when they come out of the sheet pan