
Burmese tofu. Yellow tofu. Chickpea tofu. Call it what you like. It’s made from chickpea flour and is a spectacular alternative to traditional (soybean) tofu.
Dear friends, this will be a quick post. But not an insignificant one if you’ve never had Burmese tofu.
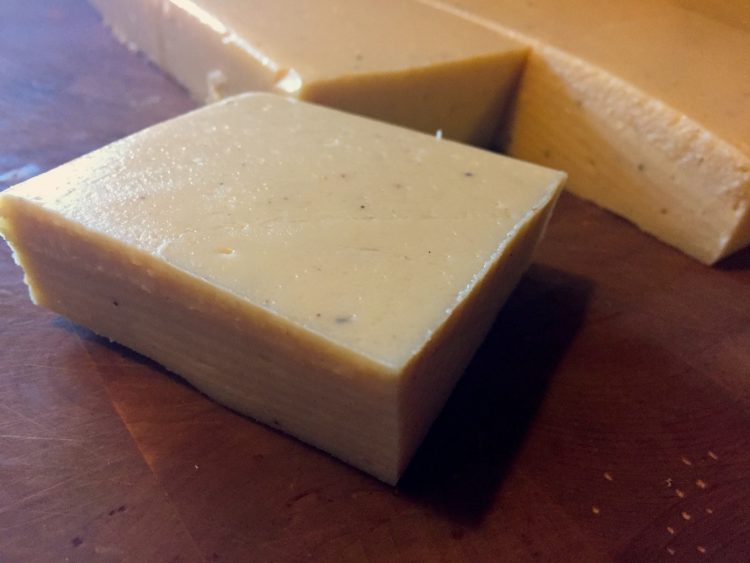
Burmese tofu is made from chickpea flour, water and, traditionally, turmeric. Hence the color.
It can stand in for soybean tofu in just about any recipe because of its neutral flavor and the ability to alter its firmness by using more or less water. That means you can fry firm chunks, as in the photo below, which yields a crispy exterior and creamy interior, or make faux scrambled eggs. Everything in between works, too, like stir-frys (or stir-fries, if you prefer) and salads.

Fried Burmese tofu. It can stick, so use a non-stick pan. Leftovers are great on a sandwich the next day.
The basic version is seasoned only with turmeric, but you can add whatever you like by way of flavorings.
Here is the basic recipe for a firm Burmese tofu. If you want it firmer, use less water. If you want it softer, use more water. This is a very economical way to get protein and nutrients.
I’ll be posting recipes using this tofu at some point, but you can start out by frying slices in an oil-butter mix and topping with some sea salt.
- 3 cups fine chickpea flour (garbanzo four; "besan" in Indian grocery stores)
- 1 tsp turmeric
- 9 cups water
- 9x13 baking dish lightly wiped with vegetable oil (or use any kind of mold you like)
- Whisk chickpea flour, turmeric and 3 cups of the water in a bowl until very smooth.
- Bring remaining 6 cups of water to a boil in a large, heavy saucepan.
- Turn down flame to medium.
- Whisk chickpea mixture into boiling water and continue whisking until thick. Should take between 4 and 6 minutes. Be sure to keep it from scorching.
- Transfer to your mold and smooth top with a spatula. Work as quickly as you can because it sets fast.
- Allow to remain on counter until firm and then carefully turn out onto a board.
- Cut as desired and use immediately or refrigerate.